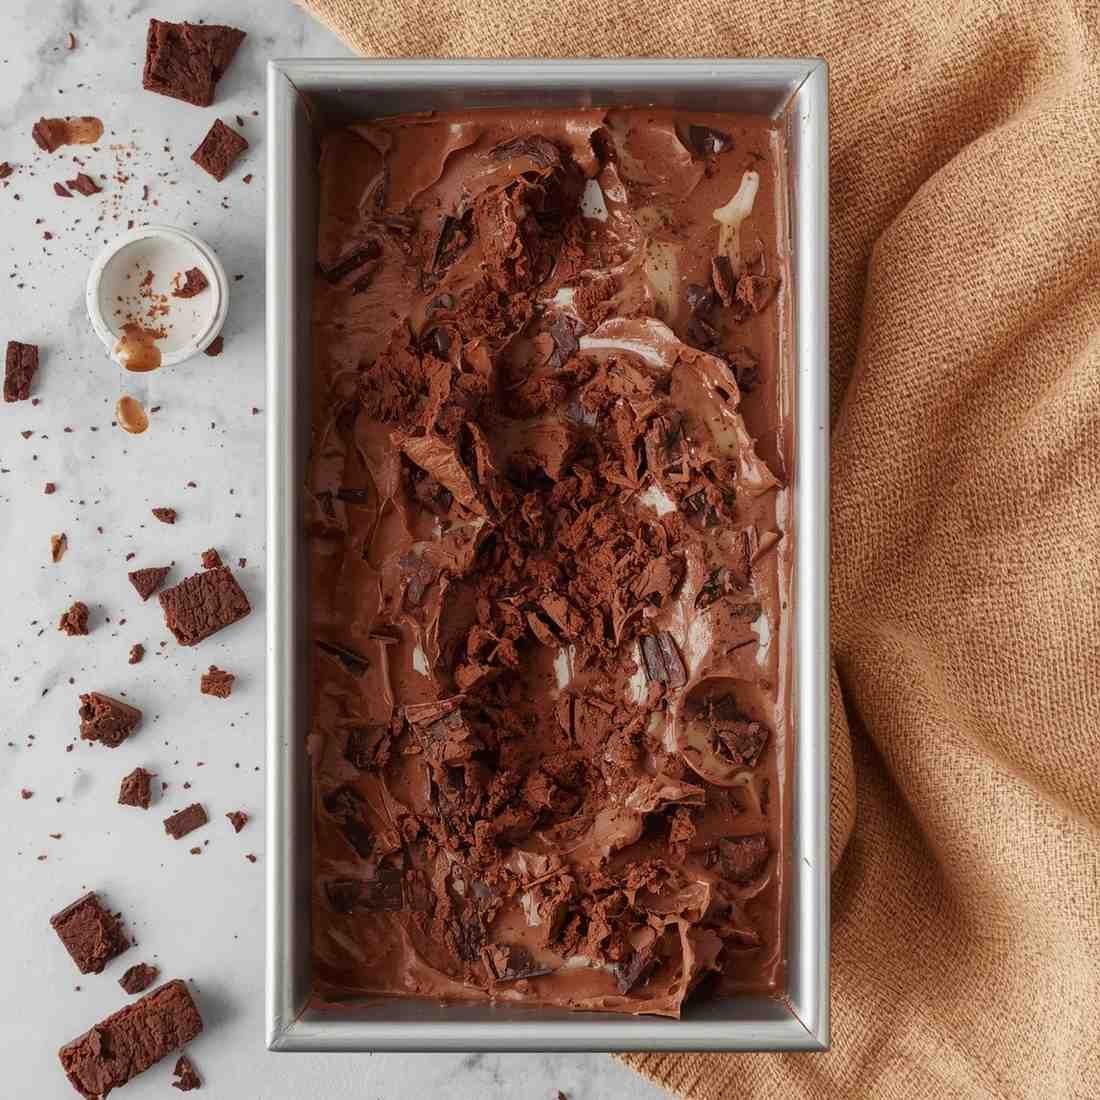
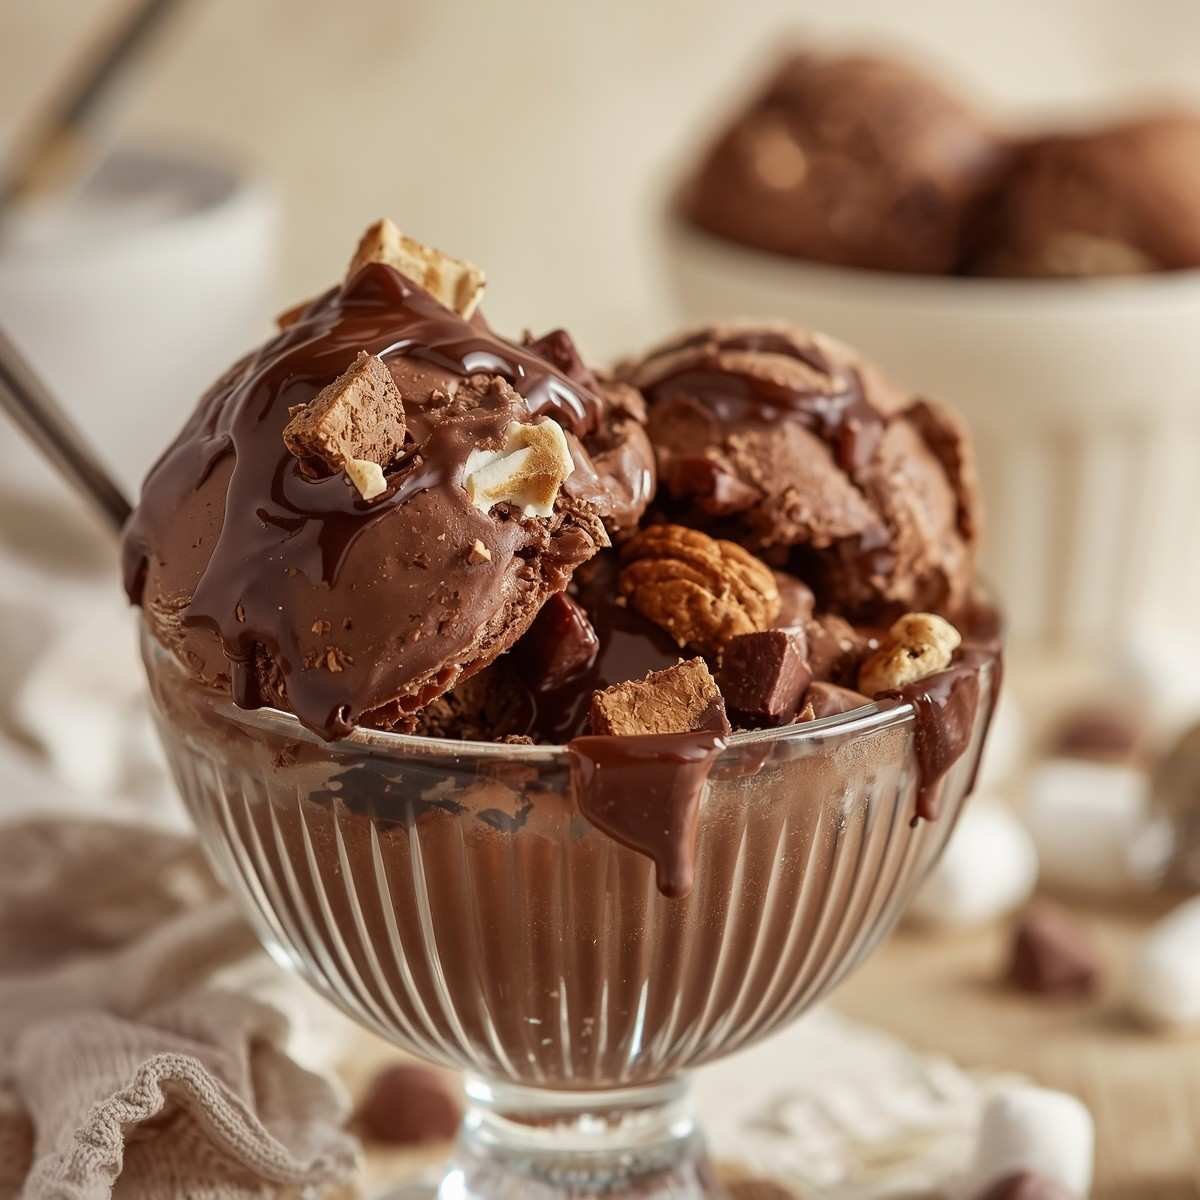
This homemade Rocky Road ice cream is loaded with rich chocolate flavor, fluffy marshmallows, crunchy almonds, and chunks of chocolate in every creamy bite. Made with a smooth chocolate custard base and packed with classic mix-ins, this frozen dessert delivers the perfect combination of creamy texture and crunchy sweetness. Every scoop is filled with layers of chocolatey goodness and nostalgic flavor that tastes even better than your favorite ice cream shop version.
Rocky Road ice cream has remained one of the most beloved classic ice cream flavors for decades because of its irresistible texture and flavor combination. Traditionally made with chocolate ice cream, marshmallows, and nuts, it became popular during the late 1920s as a comforting dessert during difficult times. This homemade version uses real cream, cocoa, melted chocolate, toasted almonds, and mini marshmallows to create an ultra-rich dessert that is creamy, decadent, and incredibly satisfying for chocolate lovers.
Ingredients
- 2 cups heavy cream
- 1 1/2 cups whole milk
- 3/4 cup granulated sugar
- 1/2 cup unsweetened cocoa powder
- 4 ounces semi-sweet chocolate, finely chopped
- 4 large egg yolks
- 2 teaspoons pure vanilla extract
- 1 pinch salt
- 1 tablespoon honey or corn syrup for softer texture
- 1 cup mini marshmallows
- 3/4 cup toasted almonds, chopped
- 1/2 cup mini chocolate chips or chocolate chunks
Equipments
- Ice cream maker
- Medium saucepan
- Mixing bowls
- Whisk
- Silicone spatula
- Fine mesh strainer
- Measuring cups and spoons
- Sharp knife
- Cutting board
- Baking sheet
- Freezer-safe container
Instructions
- Preheat your oven to 350°F.
- Spread the almonds evenly on a baking sheet.
- Toast the almonds for about 6 to 8 minutes until lightly golden and fragrant.
- Remove the almonds from the oven and allow them to cool completely.
- Chop the toasted almonds into smaller pieces.
- Place the marshmallows and chocolate chips into the freezer while preparing the custard base.
- In a medium saucepan, combine the whole milk, heavy cream, cocoa powder, half of the sugar, and salt.
- Place the saucepan over medium-low heat.
- Whisk continuously until the cocoa powder fully dissolves.
- Add the chopped semi-sweet chocolate to the saucepan.
- Continue stirring until the chocolate melts completely into the mixture.
- Heat the mixture until hot and lightly steamy.
- Do not allow the mixture to boil.
- In a separate mixing bowl, whisk the egg yolks with the remaining sugar.
- Continue whisking until the yolks become pale and creamy.
- Slowly pour about 1 cup of the warm chocolate mixture into the egg yolks while whisking constantly.
- Continue whisking carefully to temper the eggs.
- Gradually pour the tempered egg mixture back into the saucepan.
- Return the saucepan to low heat.
- Stir continuously using a silicone spatula while the custard cooks.
- Continue cooking until the custard thickens slightly and coats the back of a spoon.
- Remove the saucepan from the heat immediately once thickened.
- Stir in the vanilla extract and honey.
- Pour the custard through a fine mesh strainer into a clean bowl.
- Allow the chocolate custard to cool slightly.
- Cover tightly with plastic wrap.
- Refrigerate the custard base for at least 4 to 6 hours or until completely chilled.
- Freeze your ice cream maker bowl according to manufacturer instructions if required.
- Pour the chilled chocolate custard into the ice cream maker.
- Churn according to your machine instructions for approximately 25 to 30 minutes.
- The ice cream should become thick and creamy like soft serve.
- During the final few minutes of churning, add the chopped almonds, marshmallows, and chocolate chips.
- Mix until evenly distributed throughout the ice cream.
- Transfer the churned ice cream into a freezer-safe container.
- Smooth the top evenly using a spatula.
- Sprinkle additional almonds or chocolate chips on top if desired.
- Cover tightly with a lid or plastic wrap.
- Freeze for an additional 3 to 4 hours until firm.
- Allow the ice cream to soften slightly before scooping.
- Serve cold and enjoy the creamy chocolate texture with crunchy and fluffy mix-ins.
Recipe Information
- Prep Time: 35 minutes
- Cook Time: 20 minutes
- Chill Time: 4 hours
- Total Time: 4 hours 55 minutes
- Servings: 8
- Cuisine: American
- Course: Dessert
Nutrition Information (Approximate)
- Calories: 425 kcal
- Protein: 7 g
- Carbohydrates: 39 g
- Fat: 28 g
- Fiber: 3 g
- Sugar: 33 g
- Sodium: 150 mg
Flavor Profile Breakdown
- Rich creamy chocolate flavor
- Crunchy toasted almond texture
- Soft fluffy marshmallow bites
- Smooth velvety custard consistency
- Sweet and nutty dessert balance
Tips for Best Results
- Chill the custard completely before churning
- Toast the almonds for deeper flavor
- Freeze marshmallows before mixing into the ice cream
- Use high-quality cocoa powder and chocolate
- Stir the custard continuously while cooking
- Freeze the ice cream maker bowl overnight
Variations & Substitutions
- Use walnuts instead of almonds
- Add fudge swirls for extra richness
- Replace chocolate chips with brownie chunks
- Use mini peanut butter cups for extra flavor
- Add dark chocolate chunks for richer texture
- Use dairy-free cream alternatives if preferred
Mistakes to Avoid
- Do not boil the custard mixture
- Avoid over-churning the ice cream
- Never skip chilling the base
- Do not add warm mix-ins
- Avoid using stale marshmallows
- Do not store uncovered in the freezer
Serving Suggestions
- Serve in waffle cones
- Top with hot fudge sauce
- Garnish with extra marshmallows
- Pair with brownies or cookies
- Add whipped cream topping
- Serve with roasted almonds
Storage Tips
- Store in an airtight freezer-safe container
- Keep frozen for up to 2 weeks
- Press plastic wrap directly onto the surface
- Allow to soften slightly before scooping
- Keep away from freezer door temperature changes
Why You’ll Love This Recipe
- Rich chocolate flavor in every bite
- Loaded with classic Rocky Road mix-ins
- Ultra-creamy homemade texture
- Better than store-bought ice cream
- Perfect balance of crunchy and creamy
- Easy to customize with extra toppings
- Great for chocolate lovers
- Family-friendly frozen dessert
How to Serve
- Scoop into chilled dessert bowls
- Serve in crispy waffle cones
- Pair with cakes and brownies
- Add chocolate drizzle on top
- Serve during parties and gatherings
- Enjoy as a decadent homemade dessert
FAQs
What is Rocky Road ice cream made of?
Traditional Rocky Road ice cream contains chocolate ice cream, marshmallows, and nuts like almonds or walnuts.
Why is it called Rocky Road ice cream?
The name became popular during the Great Depression to bring comfort and smiles during difficult times.
Can I use store-bought marshmallows?
Yes, mini marshmallows work perfectly in this recipe.
Do I need an ice cream maker for this recipe?
An ice cream maker creates the creamiest texture, but manual freezing with stirring also works.
Can I make Rocky Road ice cream without nuts?
Yes, you can omit the almonds for a nut-free version.
Why should I freeze the marshmallows first?
Freezing helps prevent them from becoming sticky during mixing.
How long does homemade Rocky Road ice cream last?
It stays fresh for about 2 weeks when stored properly in an airtight container.
Can I add extra chocolate mix-ins?
Yes, brownie chunks, fudge swirls, and chocolate chips work wonderfully.
What nuts work best in Rocky Road ice cream?
Almonds are traditional, but walnuts and pecans are also delicious options.
How do I keep homemade ice cream creamy?
Use full-fat dairy, chill the mixture thoroughly, and store it properly in an airtight container.